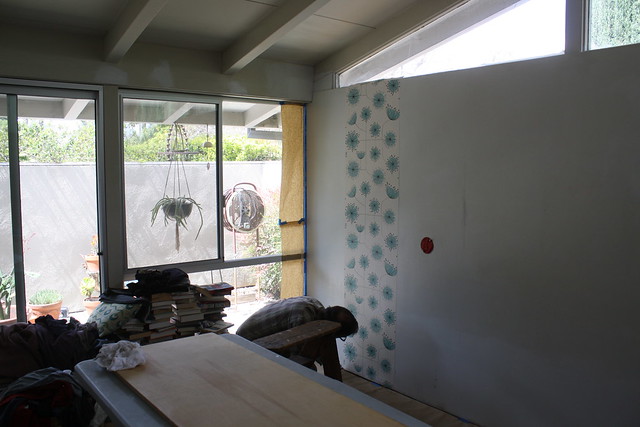
we were a little nervous about this DIY project. in preparation we watched a lot of videos including:
this one
and
read up about it on good old msl


in the end (and d may beg to differ) i thought it went up rather smoothly (no pun intended!) i had experience, a long long time ago, putting up pre-pasted wallpaper with my mom. the kind you soak in a tray then apply to the wall. i must say, though my memory may be failing me, i think this was a much easier, and cleaner process. we had to search a bit for a paste (we found it at Lowe's) but it was easy to work with and set-up and clean-up were quite basic.
items of note:
* have a long clean smooth table top surface to work on. this made applying the paste a great deal easier
* wipe down said smooth surface between paste applications. we did have a minor mishap with the paper sticking to the table and tearing. luckily we had ordered extra.
* order extra (see above). we used the calculator on the wallpaper direct site. glad we did.
* it is a two-person job. sure one person could have done it. but it was great having an extra pair of hands (especially as first-timers). d did the cutting, paste-up, application to the wall and trimming; while i was his spotter, and followed him with the tools to push out any bubbles, roll the seams and sponge down. (it was a great team-building exercise!)
* invest in a good roller. we had a cheap one that came with the kit d picked-up. we ended up using a clean brayer which worked much better.
* prep prep prep! d's careful preparation of the wall (sanding, patching, sanding, priming, and sealing) made a huge difference to the outcome.

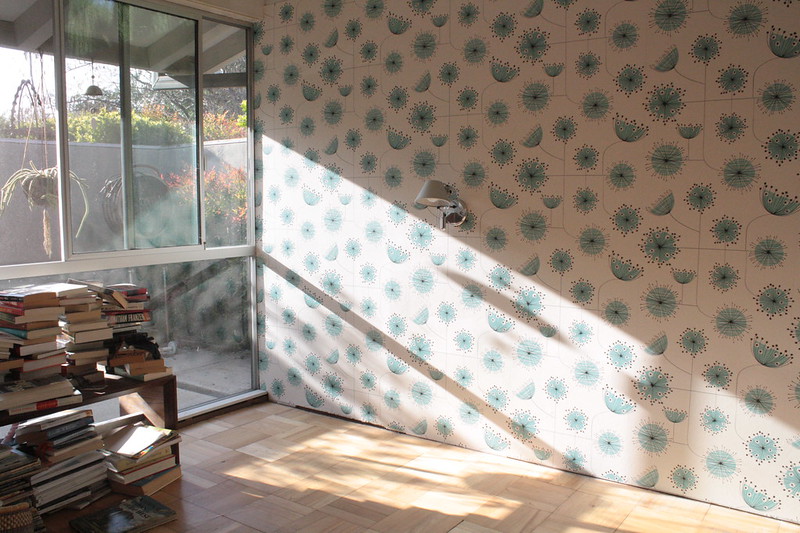
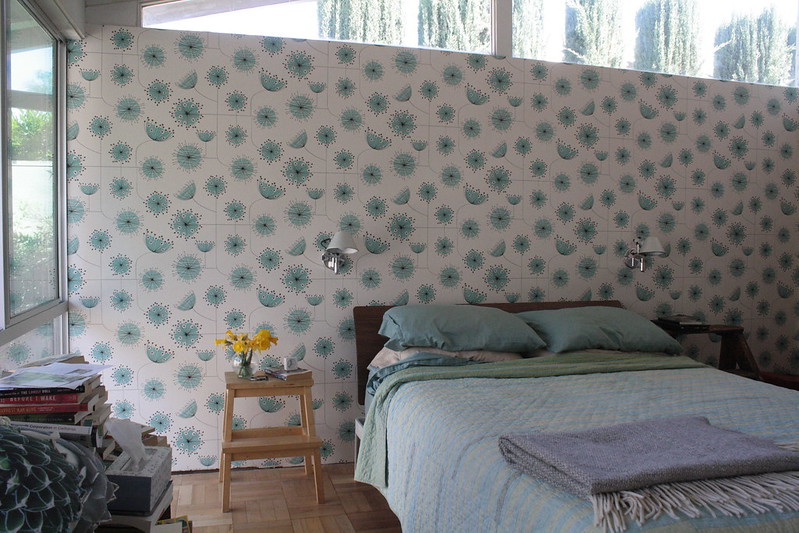
i really love how it looks. (d is getting tired of hearing me go on about it!) it ties into the theme of the house in color and its retro vibe. the natural wood furnishings keep it warm and inviting. our chaotic neglected bedroom has turned into a "crisp clean space" and a "cozy refuge".
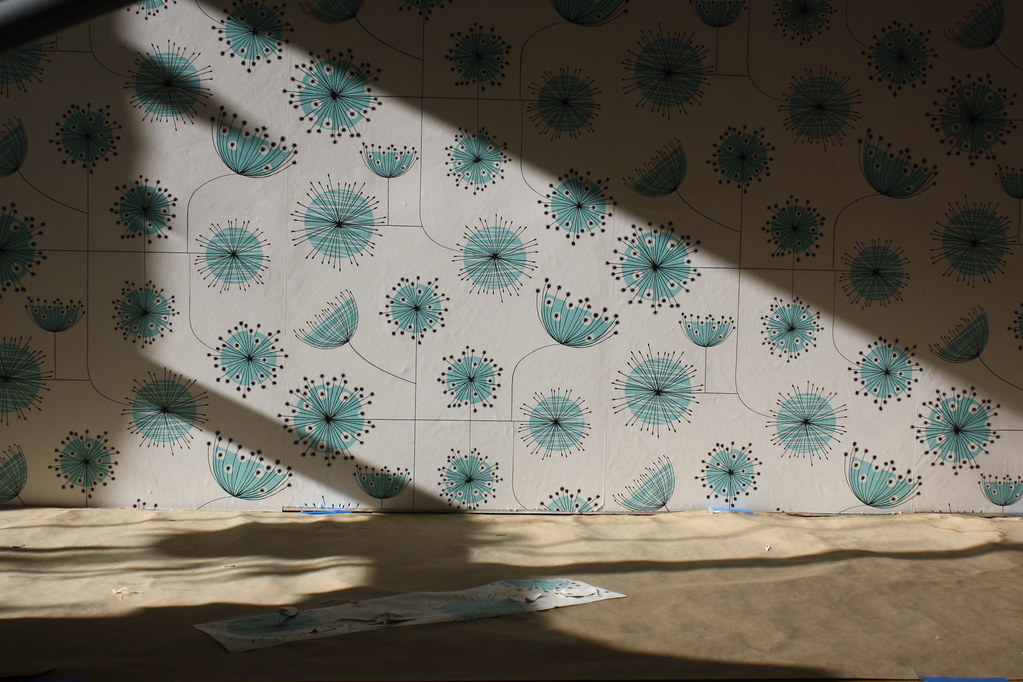
wallpaper: dandelion mobile in porcelain with powder blue by miss print purchased at wallpaperdirect.com (but sadly no longer available).
still to do: walnut shelving, bedside built-ins, baseboards and having ceiling painted. we are close!
4 comments:
Looks gorgeous!! Love the bed too, and the Tolomeo lamps. Had a giggle at the how-to video - I now have the word 'ahDsives' stuck in my head (but its a very useful video). Did you do butted up joins or slight overlaps? I am contemplating wallpapering one wall in our dining room with a Josef Frank paper and your post is further inspiration!
Definitely do it Jennie! (Love the Frank paper!!!) We did butt joins. The adhesives actually gives you some play to slide things around. And we had fun putting on our accents too ;) xoxo
wow! looks great, t+d! i love a good team building exercise. (jeff and i are taking a circuit weight training class together, and i think it builds our team as well.) but back to wallpaper… can you even believe you had that other crazy pattern for so long? it was cool and all, but this is so much calmer and lighter. way to go, team!
thanks reb. (ooh circuit weight training together sounds awesome!) xoxo
Post a Comment